Ok, you want directly start building a PitNode…let’s go!
Preparation
You have the following options to start:
- Build a complete PitNode based on HW
- Run the SW on your local machine. This gives you access to the webserver and you can check if you like it or not. Of course you do not have a measurement system behind but a mock.
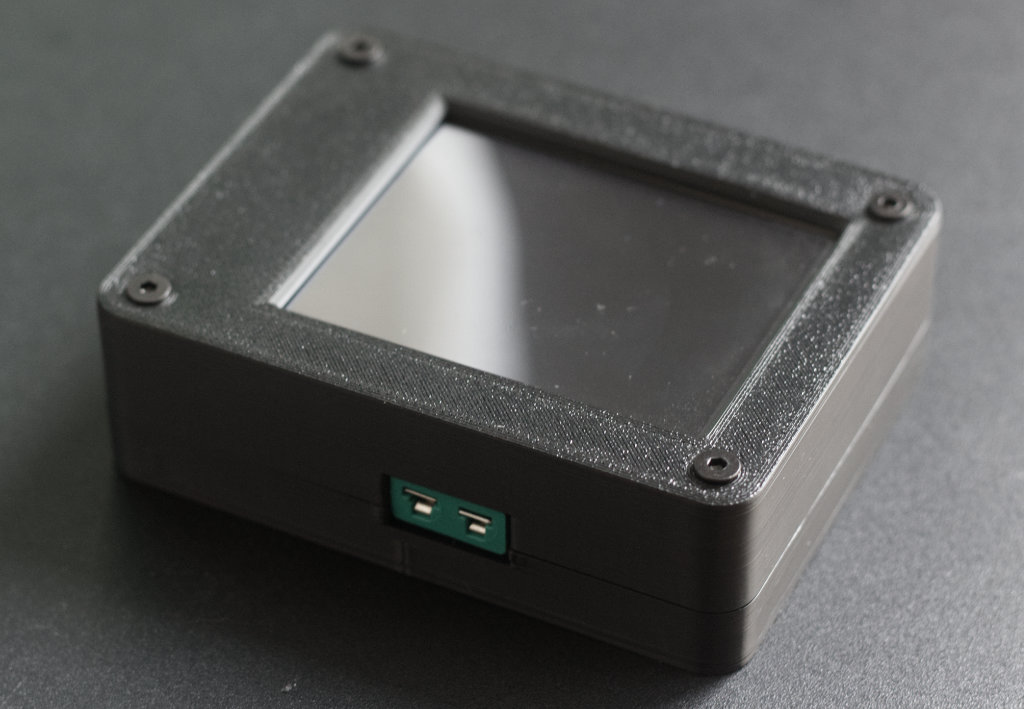
The following getting started page assumes you are using the PitNode Pico Touch Extension Board as hardware and following option 1.
Hardware preparation
The HW needed for PitNode Pico Touch can be built on your own. You can use your own hardware design or you use the PitNode Pico Touch Extension Board (PitNode PTEB). The schematics are available on the GitHub HW repository.
To assemble PitNode Pico Touch you need some SMD solder skills and basic electronic knowledge in order to follow the instructions here.
If you have interest to get a PCB from me, just let me know. If there are enough makers interested I will try to sell the PCB to you but this might need some preparation time.
Here you find the detailed instructions: Prepare the PitNode Pico Touch Extension Board
Software deployment
The software deployment is easy to do.
You have to do two main steps:
- Flash micropython FW to the Raspberry Pi Pico2W
- Upload the SW to the Pico using the deploy script which is part of the SW repository
Here you find the detailed instructions: Prepare the PitNode SW
Prepare or buy probes
I decided not to try to support each existing probe. The reason is that you can buy simple NTC probes for some Euros. The issue with these probes is that the probe parameters are not given in the description in many cases. That’s why I give you a guide how to determine the type of probe and the parameters.
PitNode provides a calibration wizard which helps you to determine the probe parameters automatically. All you need is a reference thermometer which you trust.
Follow the detailed instructions: Determine probe parameters
Configuration
HW config
PitNode is using mainly two configuration files. The first one is HW specific and contains pin assignment, resistor values for ADC voltage divider, number of channels and display parameters.
The configuration for PitNode Pico Touch EB can be found in the SW repository under:
/pitnode/hw_config/pitnode_pico_touch_config.txtThe file should be self explained.
User config
The user config contains the HW board to be used, temperature unit, the probe definition, WiFi on/off, port to be used for the webserver and a development flag which mainly gives logging information.
Here you have to configure your NTC probes by providing resistance value at room temperature and beta. Or you can provide the Steinhart-Hart coefficients. If you don’t know them read this chapter.
/pitnode/config.txt
Leave a Reply